Okay, so, I’ve been wanting to clean up this old New York Yankees hat for a while now. It’s a vintage piece, and man, it was filthy. Seriously, it looked like someone had worn it every day for a year without washing it once. I’m guessing the dude before me really loved this hat and, unfortunately, really sweat in it too. But, you know, that’s the charm of vintage stuff, right? Anyway, I finally decided to tackle it.
First things first, I had to figure out if this hat could even handle a wash. I mean, some old hats, especially those with soft brims like this one, can get messed up if you soak them. Turns out, this one was old but not that old, so I should be good to go. But if you’ve got a really old one, like, maybe a vintage-style cap, you might want to be extra careful.


I started by giving it a good once-over. I grabbed a soft brush and gently brushed off any loose dirt or dust. Then I looked closely to spot clean. Lucky me, no major stains, just a whole lot of grime. I mixed up a tiny bit of mild detergent with some water. I used a soft cloth, dipped it in the soapy water, and gently dabbed at the dirtiest spots. It is very important to make sure that you don’t use too much detergent to avoid damaging the hat.
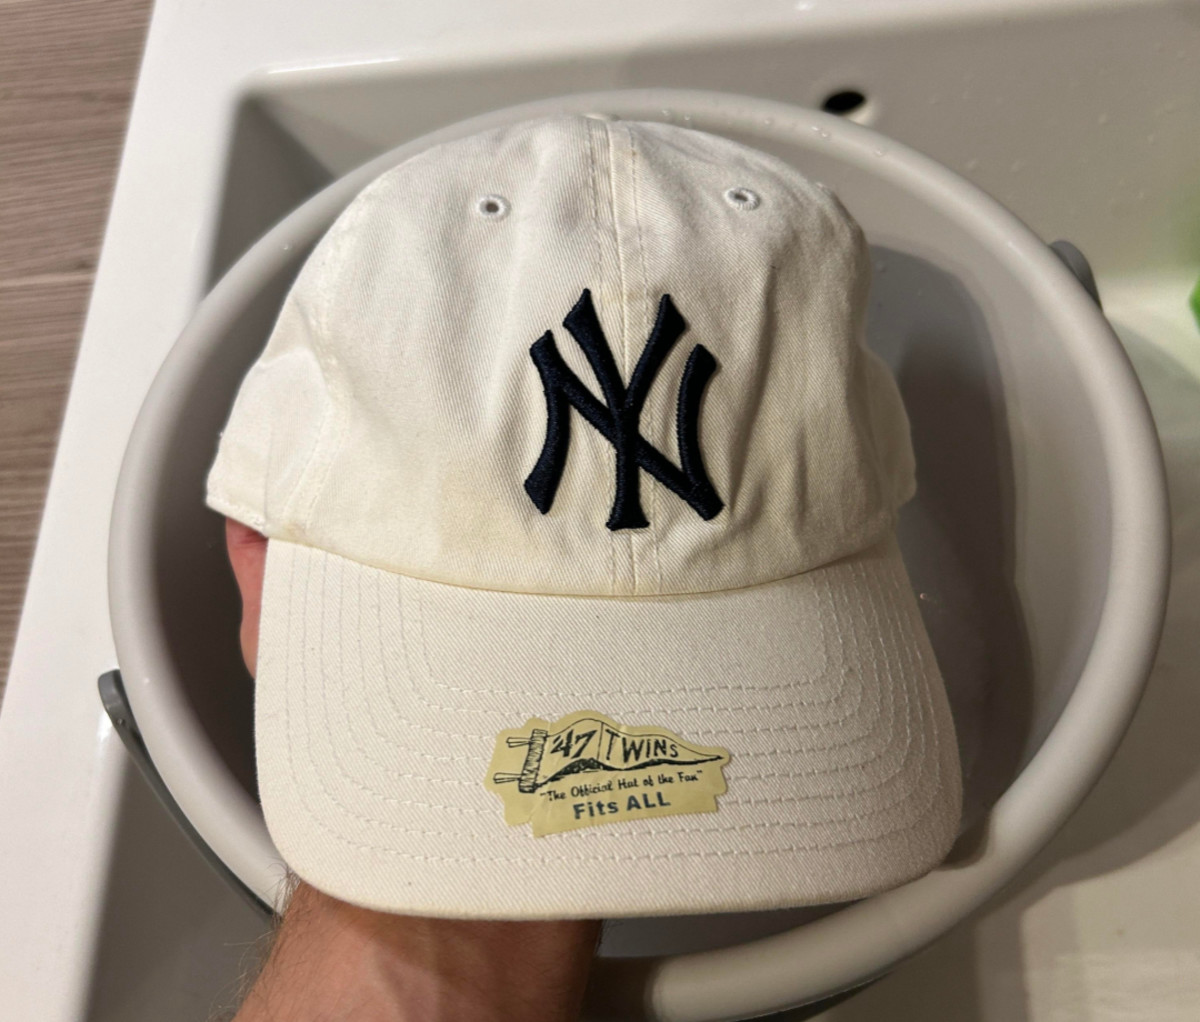
After spot cleaning, it was time for the big soak. I filled a basin with lukewarm water and added just a little bit more of that mild detergent. I didn’t want to go overboard with the soap. I carefully placed the hat in the water, making sure it was fully immersed. I know some folks say to soak for just 15 minutes, but this hat was seriously dirty, so I let it sit for about half an hour. I kept an eye on it, though, didn’t want it to sit there all day.
- Fill basin with lukewarm water
- Add a bit of mild detergent
- Submerge hat completely
- Soak for about 30 minutes
Once the soak was done, I rinsed the hat thoroughly under cool running water. I made sure all the soap was out because you don’t want any residue left behind. After rinsing, I gently patted the hat with a clean towel to get rid of the excess water. I didn’t wring it or anything, just gentle pats.
Reshaping and Drying
Now, this part is crucial. You gotta reshape the hat while it’s still damp. I carefully molded it back into its original shape, paying attention to the brim and the crown. Then, I placed it on a clean, dry towel to air dry. Some people use a hat form, but I don’t have one, so I just made sure it was sitting upright and looking good. I let it air dry completely, which took a good few hours. Avoid using a hairdryer or anything like that because the heat can damage the hat.
And that’s it! The hat looks so much better now. It’s still got that vintage vibe, but it’s clean and fresh. I’m definitely going to be more careful with it from now on, maybe give it a quick clean more often so it doesn’t get that bad again. Oh, and I learned that proper storage is key for these old hats. I’m keeping mine in a clean, dry place away from direct sunlight. That should help it last even longer. It is going to be great to finally wear this hat out!


