
Alright, so I’ve been digging into this whole NCAA 25 transfer portal thing, and let me tell you, it’s a bit of a journey. Here’s how I managed to get into it, step by step.
First off, I fired up the game and headed straight into the Dynasty mode. That’s where all the action is, right? Once I was in, I navigated to the “Team Management” section. It’s pretty easy to find, just a few clicks around.


Checking Eligibility
Before anything else, I made sure my player was even eligible to transfer. There’s this “Transfer Portal” option in the menu, but it’s not always available. You gotta meet certain criteria. From what I gathered, you need to have completed at least one season, and your academic standing needs to be in good shape.
Entering the Portal
Once I confirmed I was good to go, I clicked on the “Transfer Portal” option. It prompted me with a warning about leaving my current team. Kind of a big deal, you know? It’s like telling your coach, “Hey, I’m outta here.” But I was set on exploring my options, so I proceeded.
- Confirm your decision: There’s a confirmation screen. Double-check everything because once you’re in, there’s no turning back.
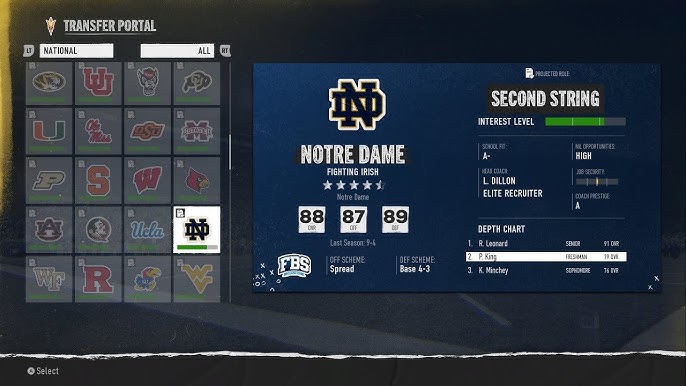
- Wait for offers: After entering the portal, it’s a waiting game. Other schools will evaluate you and might send offers.
- Review and accept: You’ll get notifications about offers. I carefully reviewed each one, considering the school’s prestige, my playing time, and how well they fit my player’s goals.
Making the Transfer
After weighing the offers, I picked the school that felt like the best fit. Accepted the offer, and boom, I was officially transferred. The game simulated the process, and I was ready to start with my new team next season.
It’s a pretty cool feature, honestly. It adds a whole new layer to the game, making it feel more realistic. If you’re playing NCAA 25, definitely give the transfer portal a try. It’s a game-changer, literally!


