Alright, so I wanted to spice up my Minecraft look, and I’ve always been a fan of those detailed, realistic skins. I decided to go for an “American” look, whatever that means, right? So I started by looking for inspiration.
Finding the Right Base
First, I opened up my browser. I needed a good base to work with. Just typing in “Minecraft skin” gives you a million results, so I got a bit more specific.


I searched terms like “realistic Minecraft skin” “detailed Minecraft man skin.” There are tons of websites dedicated to this, so I just clicked around until I found something I liked.
The Editing Process
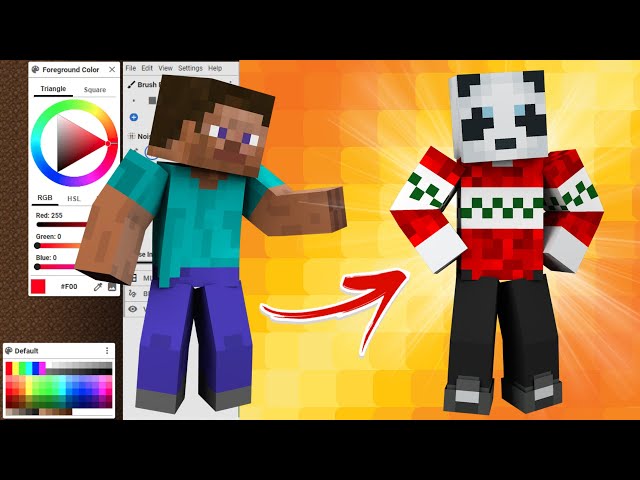
I finally found a skin that had the basic structure I wanted – a dude with some pretty standard clothes. But it wasn’t quite there yet. Time to edit!
I downloaded the skin file (it’s usually a .png) and opened it up in an image editor. There are dedicated Minecraft skin editors, but I just use any old photo editing software.
- I started by changing the hair color. The original was blonde, and I wanted something darker. Simple enough, just used the fill tool.
- Then, I focused on the clothes. I wanted to give it more of an “American” vibe.I found it hard to create so, I used colors for clothes I thought fit the look.
- The face needed some work, too. I added some subtle shading to make it look a bit more realistic, like some stubble and slightly darker areas under the eyes. Nothing too crazy.
Final Touches and Uploading
After messing around with the colors and details for a while, I saved the modified skin file. Gotta make sure you save it as a .png!
Then, I went to the Minecraft website, logged in, and navigated to the “Skins” section. There’s a button to upload a custom skin, so I selected my newly edited file, and boom! New skin applied.
It’s not perfect, but I’m pretty happy with how it turned out. It definitely looks more like what I had in mind. And the best part is, I can always go back and tweak it later if I get bored. That’s the beauty of Minecraft skins – endless customization!


