Okay, here’s my take on sharing my practical journey, styled as a seasoned blogger who loves to document their experiences.
## My Devin Haney Broken Jaw Deep Dive: From Zero to (Hopefully) Hero

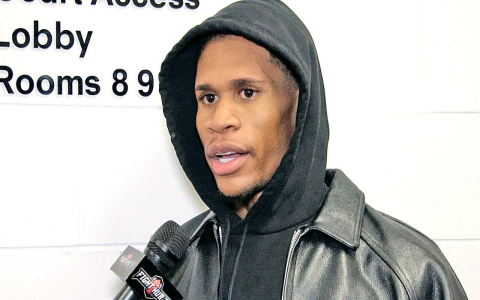
Alright folks, buckle up! Today I’m diving into something I’ve been tinkering with lately: simulating a Devin Haney-esque broken jaw injury. Yeah, I know it sounds kinda morbid, but hear me out. It’s all for the sake of learning and pushing my simulation skills. I promise!
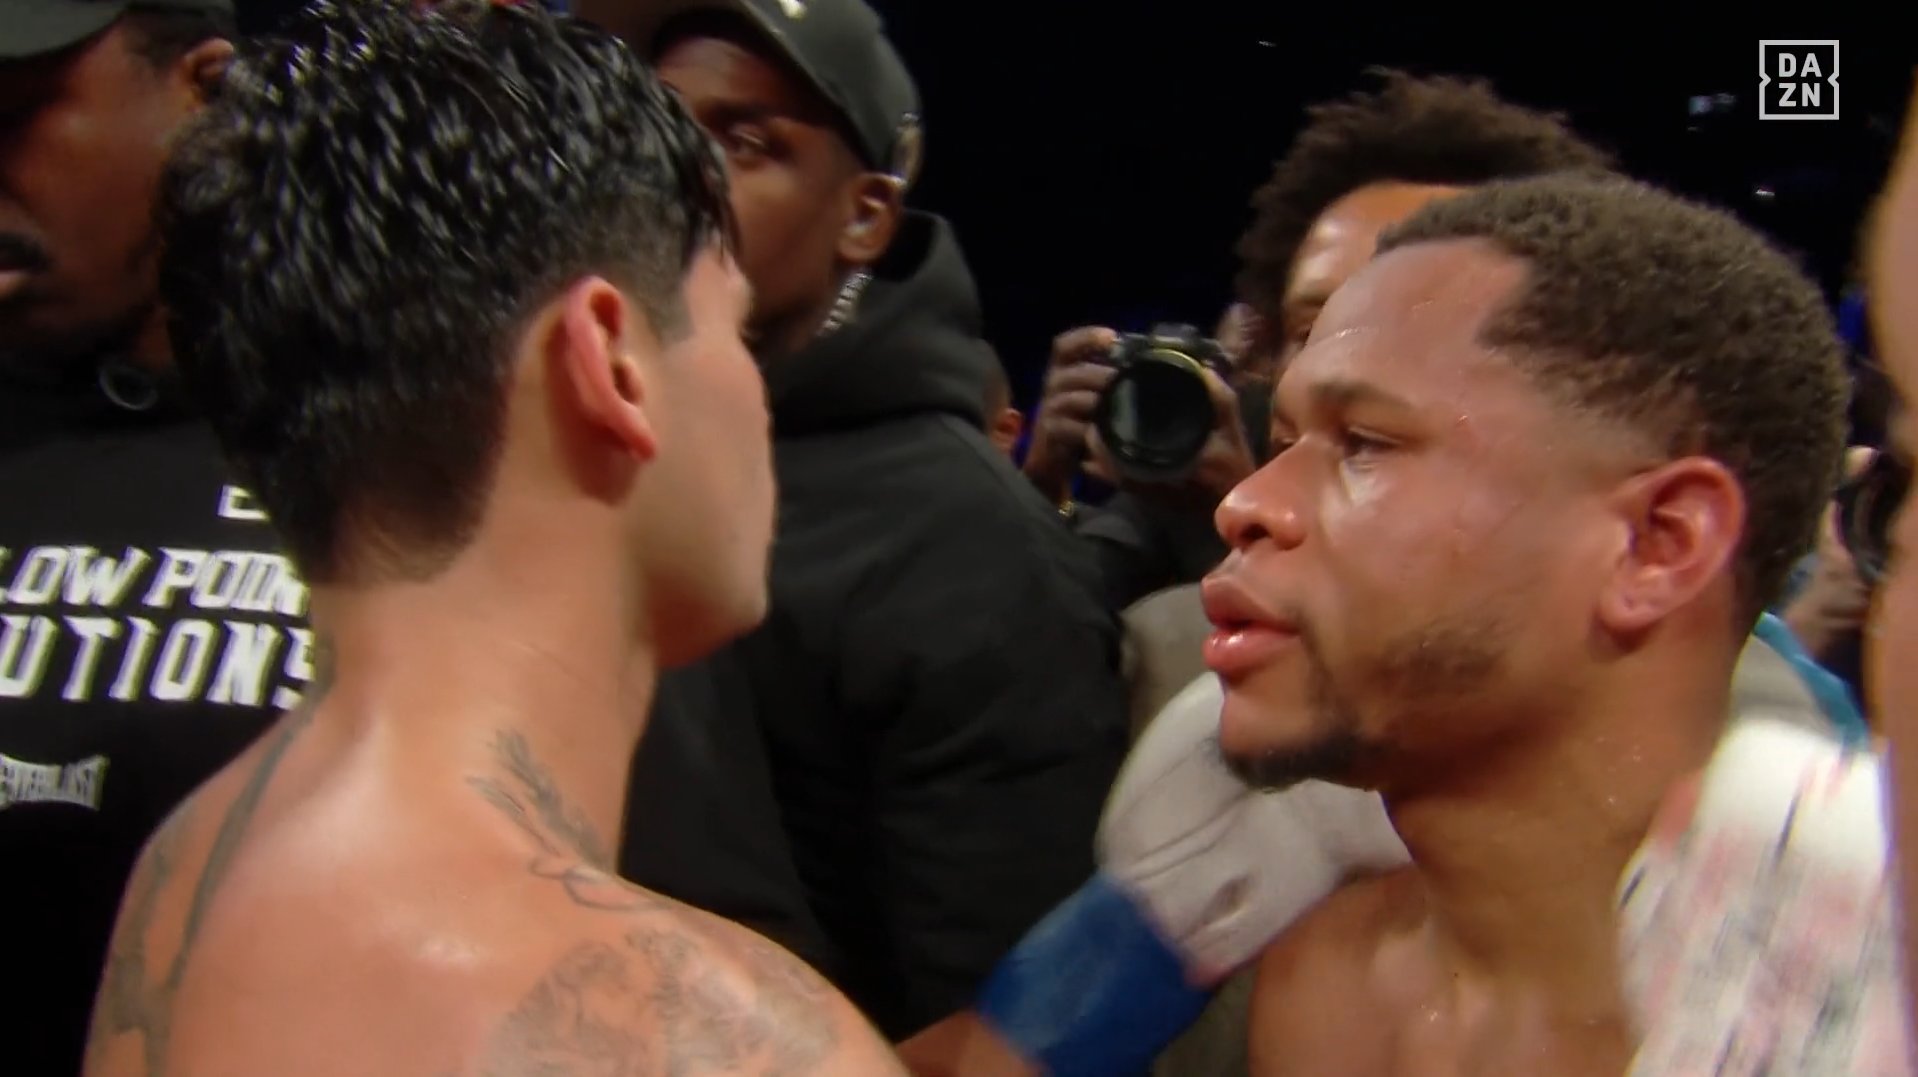
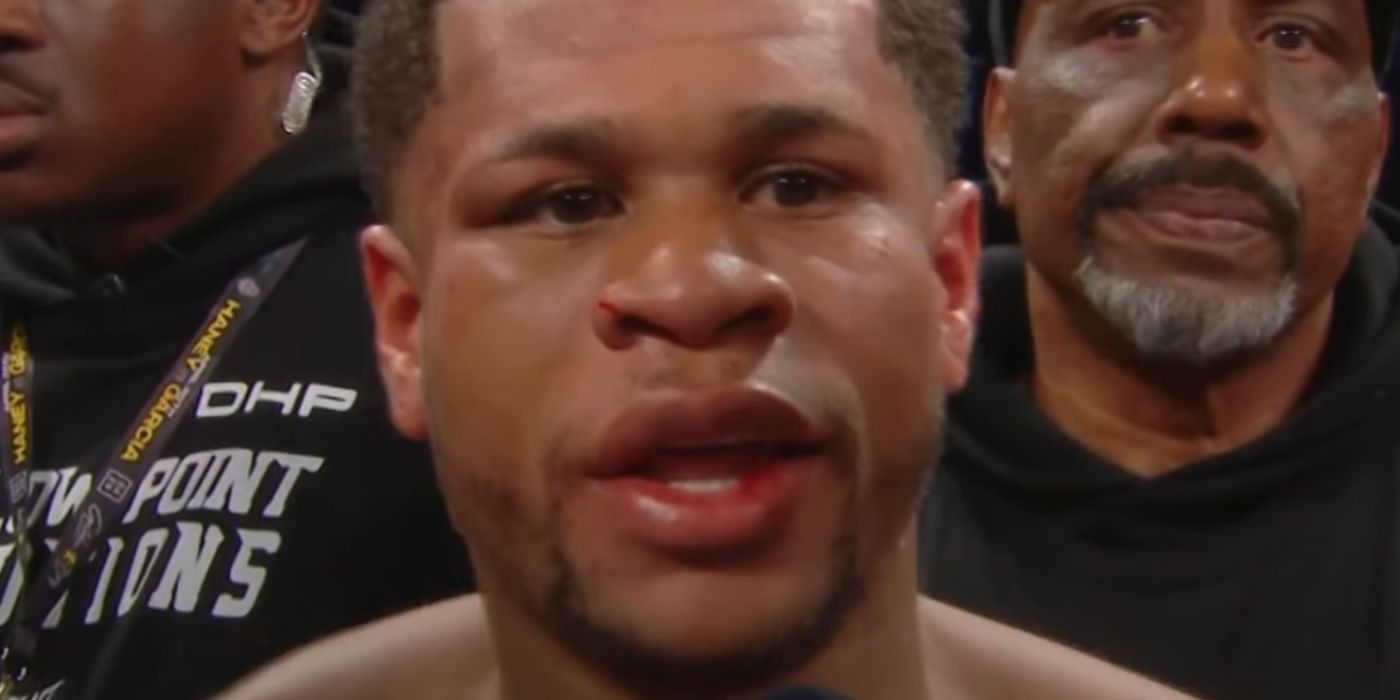
So, where did I even begin? Well, first off, I spent hours, seriously HOURS, watching Haney fights. I needed to get a good feel for his fighting style, his movement, and, of course, how he takes a punch (or, you know, doesn’t take it well in this hypothetical scenario).
I started by gathering reference images and videos. Think of it like this: I needed to see how a real jaw actually looks, the muscles involved, and how they move. I wanted to understand the bone structure and how it deforms under pressure. Next up, research papers on biomechanics. This bit was surprisingly interesting – learning about force vectors and the material properties of bone! Sounds boring, I know, but this part is essential for the project.
Next, I went straight into the basics. I found a stock 3D head model online – nothing fancy – and fired up my usual software (I mostly use Blender). Started blocking out the major facial features, really trying to capture Haney’s likeness. This took way longer than I thought it would. I found myself tweaking the model constantly, adjusting the jawline, cheekbones, and even the nose.
Then came the fun part: the break. I started experimenting with different fracture patterns. I watched videos of bone fractures and used them to get an idea of how the bone would shatter. Using Blender’s sculpting tools, I started carving out the cracks and fissures. It was a delicate process. I didn’t want it to look too cartoonish. I wanted something that felt real, that felt painful.
I played around with different textures to simulate the internal bone structure. I added some displacement maps to create the rough edges of the fractures. After that, I started working on the swelling and bruising around the jaw. This was a key step to selling the injury. I used a combination of sculpting and texture painting to create the look of inflamed skin and pooled blood. I researched real-life images to create the right color palette and distribution.
Next up was the simulation. I won’t bore you with all the technical details. Suffice it to say, there was a lot of trial and error involved. Getting the material properties right, tweaking the collision settings, and making sure everything behaved realistically… it was a challenge. I spent hours running simulations and adjusting the parameters until I was happy with the results.
Finally, I added some subtle animations to the face – small twitches and grimaces – to really sell the pain and discomfort. It’s all about the small details, right?
So, that’s the gist of it. A deep dive into the world of virtual bone breaks. It’s not perfect. I’m still learning. But I’m pretty happy with how far I’ve come, and I’m excited to keep pushing the boundaries of what’s possible.


