Alright, folks, let me tell you about my latest tinkering adventure: the teryllium putter project. I’ve been itching to get my hands dirty with some metalwork, and what better way than to craft a custom putter?
First things first, I started by diving deep into research. I spent hours online, soaking up everything I could find about putter design, materials, and construction techniques. Teryllium, with its unique feel and sound, really caught my attention. So, I decided to give it a shot.


Next up, I needed a design. I’m not a pro golfer, but I have a decent idea of what I like in a putter. I sketched out a few different head shapes, considering things like weight distribution, alignment aids, and overall balance. After a bit of tweaking, I settled on a design that felt right for me – a slightly oversized mallet with clean lines and a simple sight dot.
Then came the fun part: sourcing the materials. Finding teryllium wasn’t exactly a walk in the park. It’s not something you can just pick up at your local hardware store. After some digging, I managed to track down a supplier who specialized in exotic metals. I ordered a chunk of teryllium, along with some stainless steel for the shaft and other components.
Once the materials arrived, I got to work shaping the putter head. I used a combination of hand tools and power tools to rough out the basic shape. This involved a lot of grinding, filing, and sanding. It was a slow and painstaking process, but I wanted to make sure everything was just right.
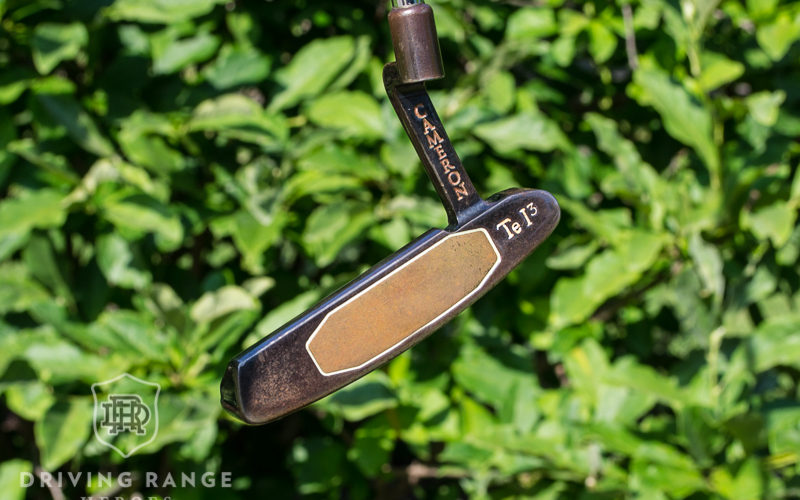
With the head taking shape, I moved on to the face milling. This is where the teryllium really comes into play. I carefully milled the face to create a pattern that would provide a consistent roll and feel. I experimented with different milling patterns, testing them out on a practice green until I found one I liked.
Next, I attached the shaft. I used a strong epoxy to bond the stainless steel shaft to the teryllium head. I made sure the alignment was perfect before the epoxy set, as any misalignment would throw off the entire putter.
Once the epoxy was cured, I added the finishing touches. This included polishing the head to a smooth shine, installing a grip, and adding some custom engravings. I wanted the putter to not only perform well but also look great.
Finally, it was time to test it out! I took the putter to the course and put it through its paces. And I gotta say, I was pretty impressed with the results. The teryllium face provided a soft yet responsive feel, and the putter had a great balance and swing weight. My putting definitely felt more consistent.
All in all, the teryllium putter project was a challenging but rewarding experience. I learned a ton about metalworking, putter design, and the importance of attention to detail. Plus, I now have a one-of-a-kind putter that I can be proud of. Was it easy? Heck no. But would I do it again? Absolutely!